
How-To Share files Via Sharepoint
Step 1: Locate the SharePoint Directory / Folder you want to Share
Locate the SharePoint folder or file you want to Share. (In this example we will be using the Tech Tips Directory / Folder.)
https://pacificstar.sharepoint.com/crocmedia/SitePages/Home.aspx
Hover over the Folder or File and either click the Share Icon or the Ellipsis (3 dots)

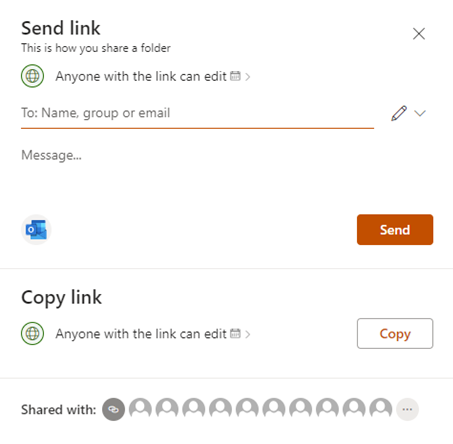
The Share Icon will open the box below:

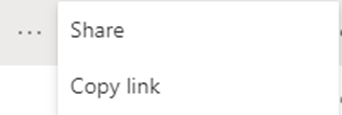
The Ellipsis (3 dots) will open the box below:

Step 2: Choosing who to share with
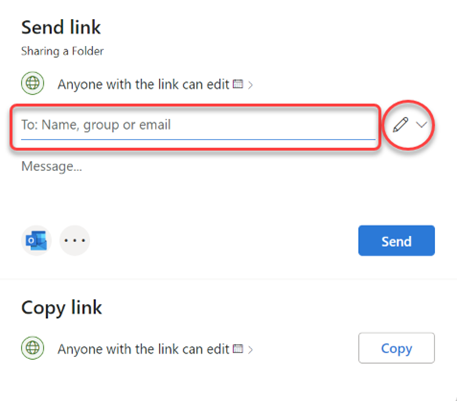
Enter in the person’s name (internally) or email address (externally) for the person you want to share the folder / file with. Then select the permissions you want to give them.
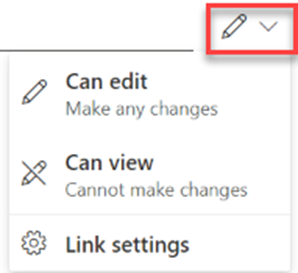
Edit: Those with Edit access can edit and make changes to the document.
View: Can only view the document and cannot make changes / edit the document.
Once you have done this click Send.
You can also just create a link using the Copy button and this will create a shareable link as seen below:
This is how you share a folder
You can access more options if you click the below, which will allow you to change the permissions of the link:

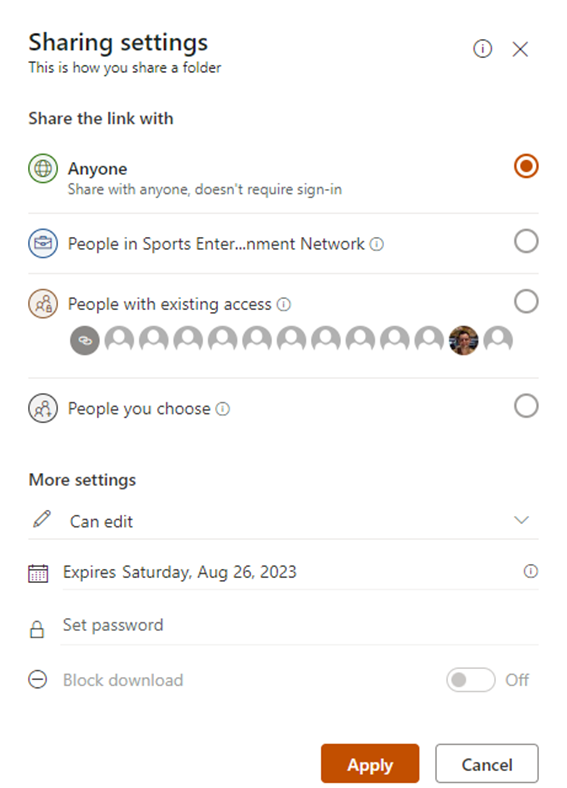
Preferably pick either People in Sports Entertainment Network or People you choose as you can limit the access.
If you require assistance please contact the I.T Team, either through the intranet (https://helpdesk.sen.com.au) or by emailing SEN Helpdesk (helpdesk@sen.com.au).
Add a comment
Please log in or register to submit a comment.